
Creating apps on iPhone is more accessible than ever. Native code, hybrid frameworks, and AI builders each offer a distinct path. This blog covers every stage, from idea validation to App Store launch, so you can choose the right approach and ship.
Can you create apps on iPhone without a computer science degree?
Yes, and the path has never been clearer. According to Statista, over 2.2 million apps live on the Apple App Store as of 2025. The market is crowded, but today's tools have lowered the barrier to entry more than ever.
What separates apps that ship from apps that stall is not talent. It is a structured approach.
What Makes iPhone App Development Different
iOS development has rules that Android development does not. Every app submitted to the Apple App Store goes through a manual review. Apple's Human Interface Guidelines define how navigation, typography, and interaction patterns should behave. Miss them and your app gets rejected before a single user sees it.
Three things every first-time iPhone app creator needs to know:
- Apple Developer Program — required for App Store submission, costs $99/year
- App Store review — typically 1 to 3 days, but can take longer for first submissions
- iOS version compatibility — your app must support recent iOS versions and be tested across device sizes
The good news: these constraints are well-documented. Follow them from the start and submission becomes a process, not a gamble.
Step 1: Define and Validate Your App Idea
Every app that succeeds solves a specific problem for a specific person. The App Store is full of apps that solve problems nobody has.
Before writing a line of code or building a single screen, validate your app idea against real market demand. Read the one-star reviews of competing apps. That is where unmet needs live. Talk to five potential users before building for five thousand.
Practical steps before you build:
- Define the one core problem your app solves
- List your app's features and limit version one to three to five
- Examine competing apps on the App Store and identify gaps
- Decide how your app will make money before you build the first screen
- Gather feedback from real users, not just people who know you
A focused scope is not a limitation. It is the fastest path to a working product.
Step 2: Choose the Right Approach to Create Apps on iPhone
The path you choose determines your timeline, your cost, and how much control you have over the final product.
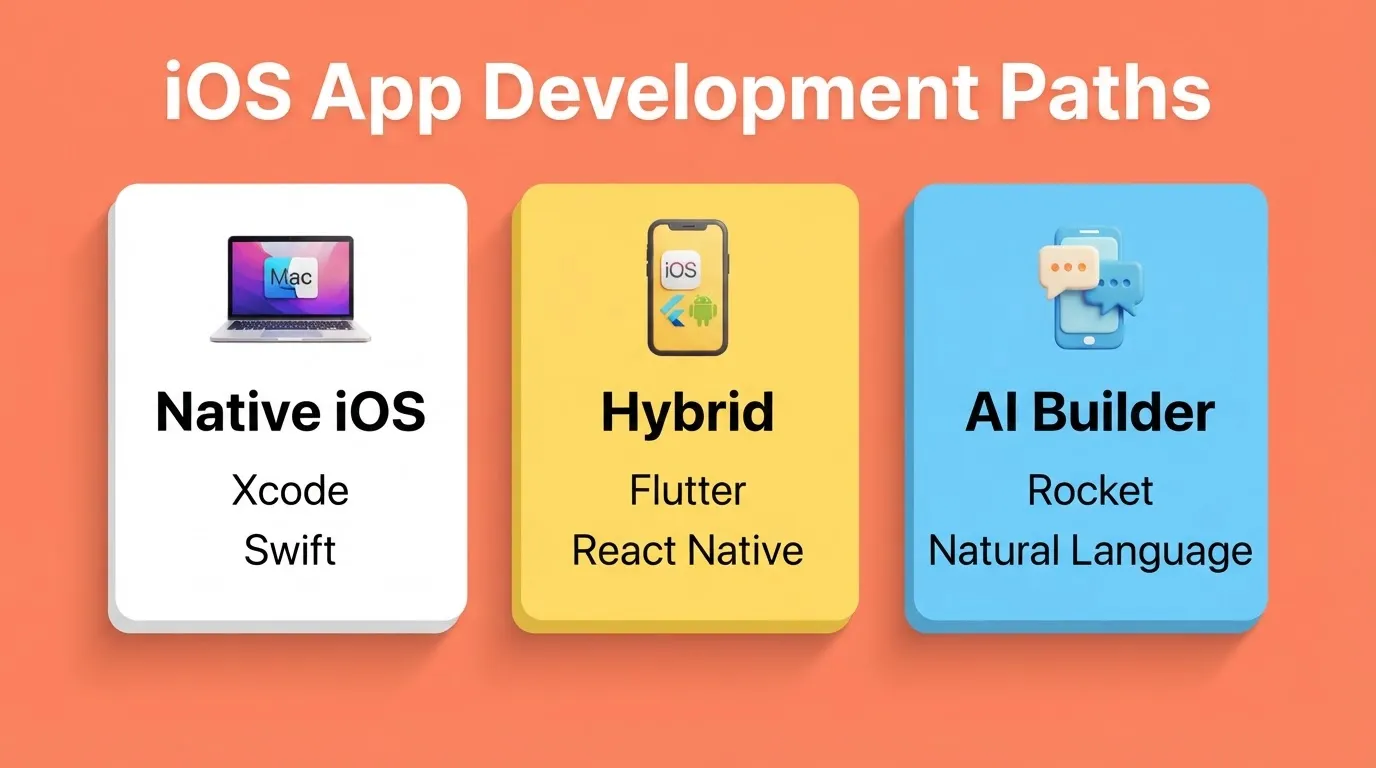
| Approach | Tools | Best For | Time to First App |
|---|---|---|---|
| Native iOS Development | Xcode, Swift, SwiftUI | Full control, complex apps | Weeks to months |
| Hybrid Development | Flutter, React Native | iOS and Android from one codebase | Weeks |
| AI App Builder | Rocket | Production-ready apps from natural language | Hours to days |
| No-Code Platforms | Glide, Adalo, Bubble | Simple apps, non-technical builders | Days |
Native iOS (Swift and Xcode) gives you maximum performance and access to every Apple API. The trade-off is a learning curve measured in months, a Mac requirement, and ongoing maintenance as iOS updates ship.
Hybrid frameworks like Flutter (by Google) and React Native (by Meta) generate apps for both iOS and Android from a single codebase. Flutter produces near-native performance and is the framework Rocket uses to generate mobile apps.
AI builders like Rocket generate production-ready Flutter code from a natural language description. You describe what you want, including screens, features, data model, and design direction, and the platform writes the code. Most apps generate in one to three minutes.
No-code platforms work for simple, template-driven apps but hit limits quickly when your product needs custom logic or a specific design.
Step 3: Design Your iPhone App
Design is not decoration. It is function. Users decide within seconds whether to keep or delete an app, and that decision is almost entirely visual and navigational.
Apple's Human Interface Guidelines are not suggestions. They define the navigation patterns, typography standards, and interaction models that iOS users expect. Apps that ignore them feel wrong before users can articulate why.
For modern iOS app building methods, the design process typically starts in Figma. Sketch your core user flows before touching any builder or IDE. Map every screen, every transition, and every edge case. The time you spend here saves hours in development.
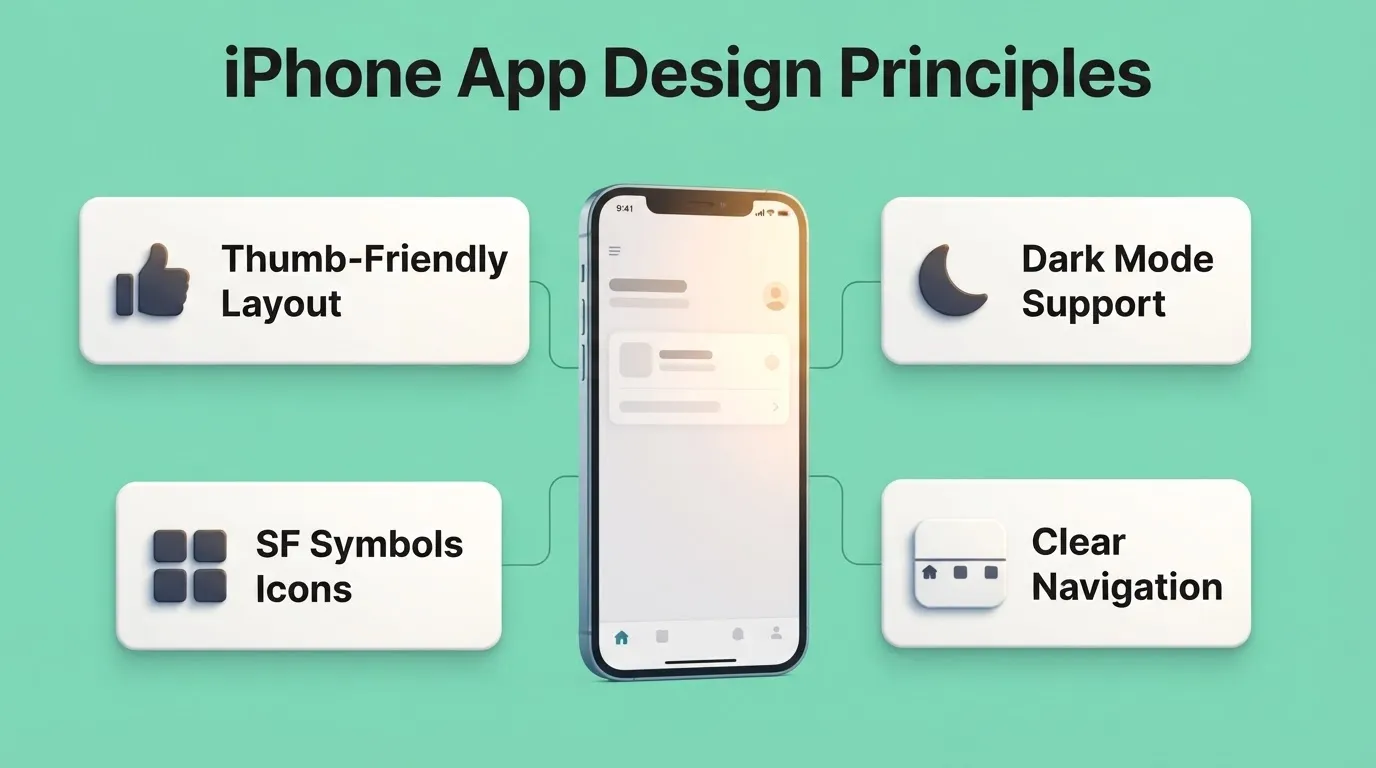
Core design principles for iPhone apps:
- Design for thumb reach, as primary actions belong in the lower half of the screen
- Support both light and dark mode, since iOS users expect it and apps that do not feel unfinished
- Use system fonts (SF Pro) and Apple's SF Symbols icon library for visual consistency
- Prioritize clarity over cleverness, so users never have to guess what a button does
Complete iOS app development workflow, from idea validation to App Store launch and ongoing iteration.
Step 4: Build and Test Your App
Once the design is mapped, move into development. The build phase is where most first-time creators underestimate the time required. Not because building is hard, but because testing is.
Building with Native iOS Tools
With Xcode and Swift, you have full access to every Apple framework. SwiftUI is Apple's modern declarative UI framework and is recommended for new projects. UIKit is the older imperative framework, still widely used in production apps. Core Data handles local persistence, CloudKit handles cloud sync, and APNs (Apple Push Notification service) handles push notifications.
Building with an AI Builder
With Rocket, you describe your app in plain language and it generates production-ready Flutter code. After generation, you iterate through three modes:
- Chat — type instructions like "Add a settings screen with profile editing" or "Fix the navigation on the home screen"
- Visual Edit — click any element in the live preview to change text, style, spacing, or layout
- Code view — browse and edit the generated Flutter source files directly
Every generation creates a new version. You can restore any previous state with one click. Rocket also connects 25+ integrations, including Stripe, Supabase, Google Analytics, Mailchimp, and Twilio, directly into your app without manual API setup.
Testing: Non-Negotiable Before Submission
Apple's review team rejects apps with crashes, broken flows, or placeholder content. Testing is not optional.
Testing checklist before App Store submission:
- Test on multiple iOS devices, including iPhone SE, iPhone 15, and iPad if applicable
- Test on the minimum iOS version your app supports
- Test all user flows end-to-end, including edge cases and empty states
- Use TestFlight, Apple's official beta testing platform, with real users before launch
- Test push notifications, in-app purchases, and third-party integrations separately
- Check VoiceOver support, Dynamic Type, and color contrast for accessibility
One Reddit developer shared: "After beta testing my budgeting app with 50 real users, the feedback helped me simplify features and improve engagement. Without that step, I'd have wasted months on unnecessary functions."
User feedback is more valuable than assumptions. It shapes features and improves App Store ratings.
Step 5: App Monetization Models
Decide how your app makes money before you build the payment flow. Retrofitting a monetization model is harder than building it in from the start. For a deeper look at your options, see app monetization models and how to structure them for iOS.
| Model | How It Works | Best For |
|---|---|---|
| Free with Ads | Show ads via AdMob or similar | High-volume consumer apps |
| Freemium | Core features free, premium features paid | Productivity tools, SaaS-style apps |
| Paid Download | One-time purchase price | Utility apps, games |
| Subscription | Recurring monthly or annual fee | Content apps, tools with ongoing value |
| In-App Purchases | Buy virtual goods, features, or content | Games, content platforms |
| B2B / Enterprise | Custom pricing, volume licenses | Business tools, internal apps |
Apple takes a 15 to 30 percent commission on all in-app purchases and subscriptions processed through the App Store. Plan your pricing to account for this from day one.
Step 6: Prepare for App Store Submission
Submitting to the Apple App Store requires preparation. Apple reviews every iOS app for quality, privacy, and compliance. Rejections are common for first-time submitters, not because the process is arbitrary, but because the checklist is long.
For a detailed walkthrough of the submission process, see the guide on how to deploy apps on iPhone.
App Store Submission Checklist
- Apple Developer Program account ($99/year), enroll at developer.apple.com
- App icon at 1024x1024px with no alpha channel
- Screenshots for all required device sizes (iPhone 6.7", 6.5", and iPad 12.9" if universal)
- App description with primary keyword in the first 255 characters
- Privacy policy URL, required for all apps
- Age rating completed
- In-app purchase products configured in App Store Connect, if applicable
- TestFlight beta testing completed with real users
- No placeholder content, test accounts, or broken links
Common Reasons for App Store Rejection
- Crashes or bugs — test thoroughly on real devices, not just simulators
- Incomplete information — missing privacy policy or broken demo account
- Misleading metadata — app description does not match functionality
- Privacy violations — collecting data without disclosure
- Poor user interface — Apple rejects apps that do not meet basic usability standards
Step 7: Launch and Post-Launch Strategy
Launching is not the end. It is the beginning of the real work.
Distribution Options
| Method | Speed | Audience | Cost |
|---|---|---|---|
| Web Preview (Rocket) | Instant | Anyone with a link | Included |
| TestFlight Beta | Minutes | Up to 10,000 testers | Included |
| Apple App Store | 1 to 3 days review | Global public | $99/yr Apple account |
Post-Launch Growth Strategy
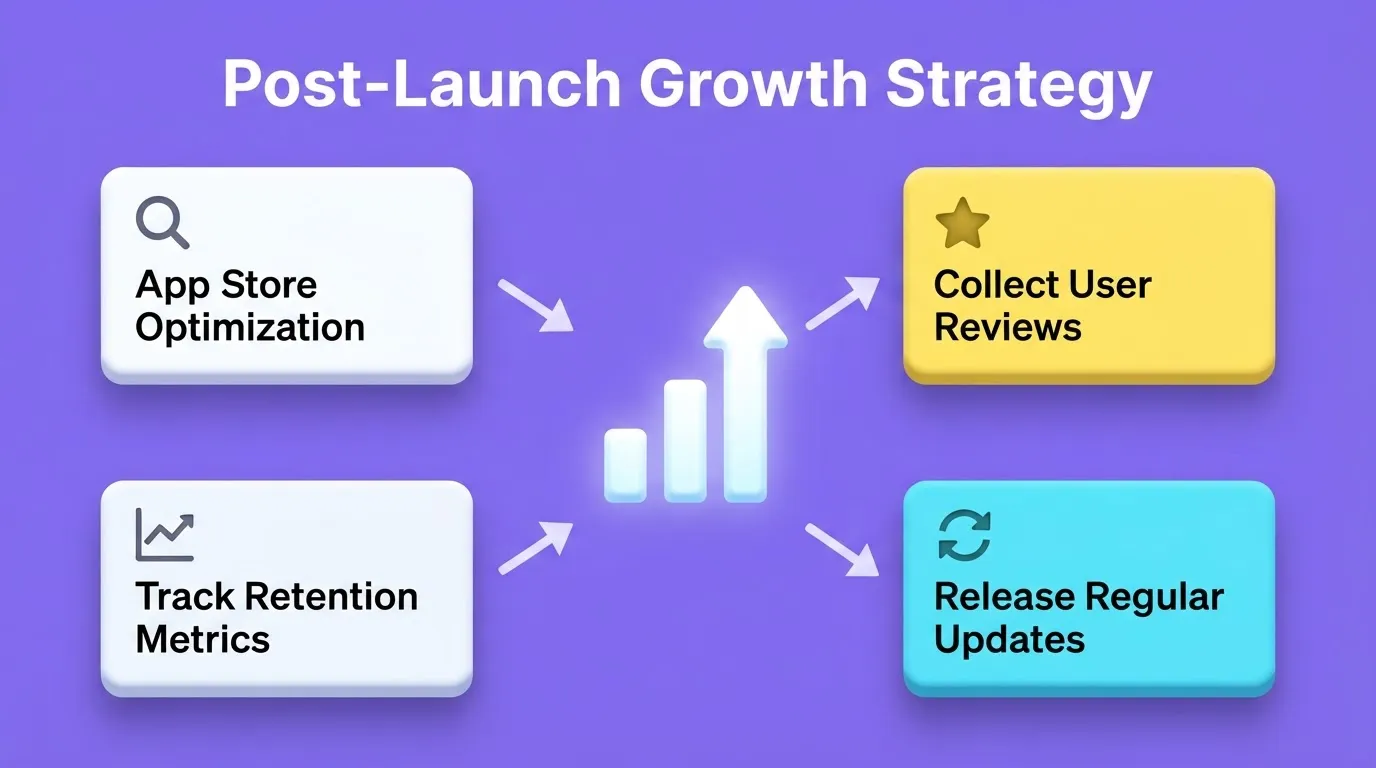
- App Store Optimization (ASO) — optimize title, subtitle, keywords, and screenshots regularly
- Collect reviews — prompt users after a positive action, not mid-task
- Monitor crash reports — use Xcode Organizer or a crash reporting tool to catch issues early
- Track key metrics — downloads, Day 1, Day 7, and Day 30 retention, session length, and conversion to paid
- Release updates consistently — apps that update regularly rank better in the App Store algorithm
- Respond to reviews — public responses show you are active and improve conversion
How Long Does It Take to Create an iPhone App?
The honest answer depends on your approach.
| Approach | MVP Timeline | Full App Timeline |
|---|---|---|
| Native (Swift/Xcode), solo developer | 3 to 6 months | 6 to 18 months |
| Hybrid (Flutter), solo developer | 2 to 4 months | 4 to 12 months |
| AI Builder (Rocket) | Hours to days | Days to weeks |
| No-Code (Glide/Adalo) | Days | Weeks |
| Agency or development team | 2 to 4 months | 4 to 12 months |
The AI builder path is faster because architecture, code generation, design systems, and integration setup happen automatically. You focus on product decisions, not implementation details.
Common Mistakes to Avoid
- Building too much for v1 — launch with the smallest version that delivers core value and add features based on real user feedback
- Skipping TestFlight — submitting directly to the App Store without beta testing is the fastest path to rejection
- Ignoring App Store Optimization — a strong app with a weak listing will not get discovered
- Not designing for dark mode — iOS users expect it, and apps that do not support it feel unfinished
- Underestimating Apple review time — plan for 1 to 7 days and never promise a launch date you cannot control
- Not planning monetization from day one — retrofitting a payment model is harder than building it in from the start
How Rocket Helps You Create Apps on iPhone
Rocket is a full-stack AI platform that generates production-ready Flutter mobile apps for both iOS and Android from natural language descriptions. You describe what you want, and Rocket writes the code.
How it works:
- Describe your app — use plain language, such as "Build a fitness tracking app with workout logging, progress charts, and a social feed"
- Rocket generates — architecture, UI, navigation, logic, and production-ready Flutter code in 1 to 3 minutes
- Iterate — refine through Chat, Visual Edit, or Code view with no change limit
- Launch — submit to the Apple App Store through App Store Connect; Rocket generates the build
What Rocket generates for mobile apps:
- Real design systems with dark and light theming, fluid navigation, and staggered animations
- Production-ready Flutter code that you can download at any time
- SEO-ready structure, WCAG accessibility compliance, and GDPR coverage by default
- 25+ integrations including Stripe, Supabase, Google Analytics, Mailchimp, and Twilio
Three ways to distribute your Rocket-built iOS app:
- Web Preview — instant shareable link, no App Store required, great for demos and stakeholder reviews
- TestFlight — share with up to 10,000 beta testers before public launch
- Apple App Store — submit through App Store Connect for public release, requires a $99/year Apple Developer account
1.5 million people have tried Rocket across 180 countries, from solo founders validating ideas to enterprise teams running strategy and execution on the same platform.
Key Tips to Keep in Mind
- Focus on user engagement over flashy features
- Collect feedback early and often, launch fast, and learn faster
- Keep design consistent with iOS conventions
- Plan monetization carefully without sacrificing usability
- Track analytics from day one, since you cannot improve what you do not measure
- Follow Apple's guidelines from the start, as retrofitting compliance is painful
Start Building Your iPhone App
Creating apps on iPhone has never been more accessible. The tools exist. The frameworks are mature. The path from idea to App Store is documented at every step.
The variable is not the technology. It is the thinking before the build. Validate your idea, choose the right approach for your skill level and timeline, design for the user, and test before you submit.
As AI-powered development continues to mature, the gap between "I have an idea" and "my app is live" will keep shrinking. The builders who ship consistently are the ones who start with a clear problem, not a long feature list.
You have the idea. Start building on Rocket and take your iOS app from concept to App Store.
Table of contents
- -What Makes iPhone App Development Different
- -Step 1: Define and Validate Your App Idea
- -Step 2: Choose the Right Approach to Create Apps on iPhone
- -Step 3: Design Your iPhone App
- -Step 4: Build and Test Your App
- -Building with Native iOS Tools
- -Building with an AI Builder
- -Testing: Non-Negotiable Before Submission
- -Step 5: App Monetization Models
- -Step 6: Prepare for App Store Submission
- -App Store Submission Checklist
- -Common Reasons for App Store Rejection
- -Step 7: Launch and Post-Launch Strategy
- -Distribution Options
- -Post-Launch Growth Strategy
- -How Long Does It Take to Create an iPhone App?
- -Common Mistakes to Avoid
- -How Rocket Helps You Create Apps on iPhone
- -Key Tips to Keep in Mind
- -Start Building Your iPhone App