
Building an iOS app means choosing a path: native Swift with Xcode for full Apple API access, or an AI-powered no-code builder that generates production-ready Flutter apps from a plain-language prompt.
Can You Build an iOS App Without Writing Code?
Yes. You can build and ship an iOS app without writing a single line of Swift. The native path uses Xcode, Swift, and Apple's full SDK. It gives you maximum performance and hardware access. The no-code AI path generates a production-ready Flutter app from a plain-language description. It runs on both iOS and Android and gets you to the App Store without a Mac or a dev team.
An iOS app is a software application built to run on Apple's iPhone and iPad devices. Developers typically build it using Swift and Apple's Xcode toolset. Alternatively, platforms that generate Flutter or React Native code from a prompt also work well.
Difficulty: Beginner to Intermediate | Time to complete (native path): 4 to 8 weeks | Time to complete (no-code path): Hours to days
The Key Steps to Building an iOS App
Breaking the process into clear stages makes it manageable. From shaping your idea to publishing on the App Store, each stage plays a direct role in creating a functional iOS application.
Before you open Xcode or write a prompt, understand the two paths available. The native path uses Xcode, Swift, and Apple's full SDK for maximum performance and full hardware access. The no-code AI path generates a production-ready Flutter app from a plain-language description in minutes. Both paths lead to the same destination: a live app on the App Store.
Step 1: Start With a Clear App Idea
Every iOS app starts with an idea. It does not have to be complicated. In fact, your first app should be simple.
Many successful iPhone app projects started small. A habit tracker, a notes tool, or a basic task manager. Nothing fancy, just useful.
Ask yourself before you build anything:
- Who are your users?
- What problem does this iOS application solve?
- Why would someone download this app?
- What is the single most important action a user takes?
A simplified version of your big vision is the right starting point. It keeps your learning process manageable and your scope honest.
Validate before you build. The most expensive mistake in any product is good execution of the wrong thing. Run market research, map competitors, and generate a PRD before writing a line of code. The thinking before the build determines everything that follows.
Step 2: Set Up Your Mac and Download Xcode
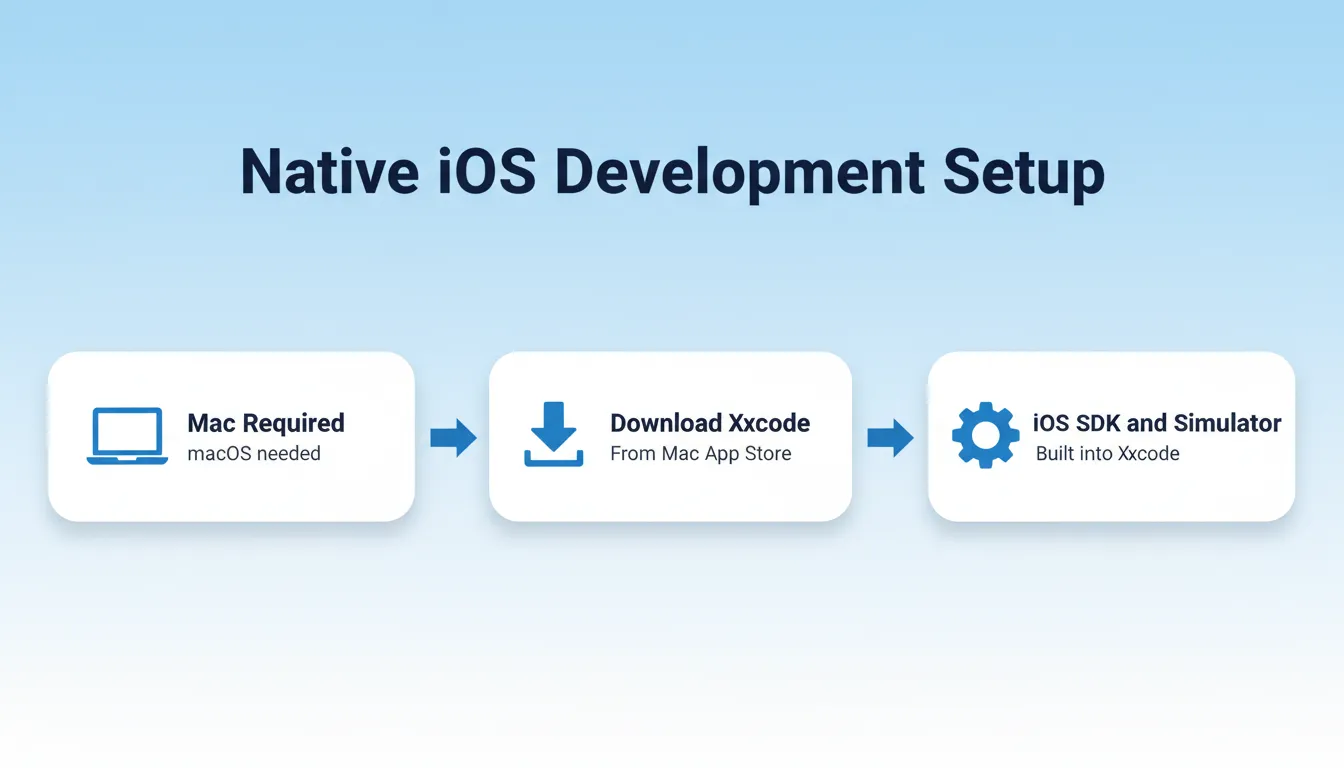
To develop iOS apps natively, you need a Mac. iOS development runs on macOS, so that is your starting point. If you do not have a Mac, skip ahead to the Native vs. No-Code vs. Cross-Platform section.
Open the Mac App Store, search for Xcode, and install the latest version. Keeping Xcode updated prevents submission issues later. After installation, follow these steps:
- Launch Xcode
- Sign in with your Apple account
- Let it install any additional components
Xcode is your main tool for iOS app development. It includes the iOS SDK, the iOS Simulator, a graphical interface builder, debugging tools, and device testing support.
System note: Xcode requires a recent version of macOS. Check Apple's developer site for the minimum macOS version required before downloading. Older Macs may not support the latest Xcode release.
Explore modern iOS app building methods to understand how the native and AI-assisted workflows compare before committing to either path.
Step 3: Create a New Xcode Project
Open Xcode and click "Create a new project." Choose the App template under iOS. This creates your Xcode project with four key fields to fill in:
- App name
- Organization identifier
- Interface option
- Programming language
Most beginners choose Swift. Swift is widely adopted for modern iOS development and is Apple's recommended language for all new projects. Objective-C still appears in older codebases, but it is not the right starting point today.
What is a bundle identifier? Your organization identifier combined with your app name forms your bundle identifier (for example, com.yourname.appname). This string uniquely identifies your app across Apple's ecosystem. Choose it carefully because it cannot be changed after App Store submission.
Step 4: Get Comfortable Inside Xcode
You will see several panels on your screen. Do not rush past this stage.
On the left is the project navigator. In the center is the code editor. On the right is the inspector panel.
What each key file does:
- AppDelegate: handles app-level lifecycle events such as launch, background, and termination
- SceneDelegate: manages the UI scene lifecycle, introduced in iOS 13
- ViewController: the main controller for your first screen's logic and layout
- Assets: where you store images, icons, colors, and media resources
Take a few minutes to navigate through everything. Click files and read comments. The more you explore, the more natural the interface feels.
Step 5: Design a Clean and Intuitive User Interface
Your app's user interface determines whether users stay or leave. A cluttered layout drives users away. A clean, intuitive layout keeps them engaged.
Open your storyboard or SwiftUI file. You can drag and drop buttons, labels, images, and text fields using the graphical interface builder inside Xcode before writing a single line of code.
Apple's Human Interface Guidelines are the definitive reference for iOS UI design. Following them improves your App Store approval chances and user satisfaction.
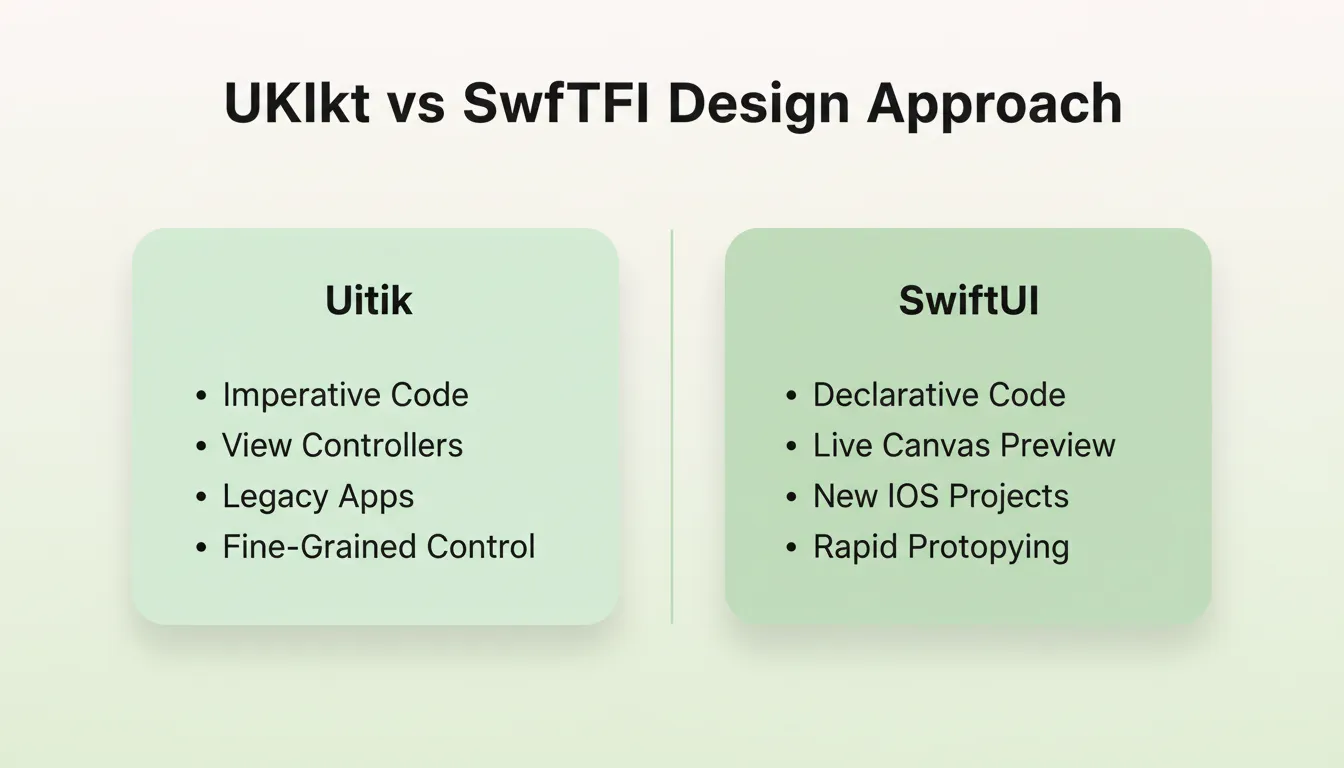
| Feature | UIKit | SwiftUI |
|---|---|---|
| Approach | Traditional, imperative | Modern, declarative |
| Style | View controller-based | Composable, state-driven |
| Learning Curve | Steeper for beginners | Faster to prototype |
| Used In | Existing apps, legacy codebases | New iOS apps, modern projects |
| Live Preview | Limited | Built-in canvas preview |
| Best For | Complex, established apps | New builds and rapid iteration |
Both are valid choices for building apps for iOS. For your first app, choose one and stick with it. Switching mid-project costs more time than the choice itself.
Key iOS UI principles to follow:
- Use standard Apple components wherever possible. Users already know how they work.
- Design for the smallest supported screen size first, then scale up.
- Maintain a minimum tap target size of 44x44 points for interactive elements.
- Respect safe areas. Content near notches or home indicators must not be obscured.
Step 6: Write the Code That Brings It to Life
Once your interface looks right, make it functional. Open your ViewController file. This is where programming begins.
- Respond to button taps
- Update labels
- Navigate between screens
- Handle user input
Without code, your app is a static layout. If you are new to programming, follow a structured tutorial. Many resources walk you through building a small app step by step. The learning process becomes less intimidating with each iteration.
Recommended free learning resources:
- Apple's Swift Playgrounds app: interactive and beginner-friendly
- Apple Developer documentation at developer.apple.com
- Paul Hudson's Hacking with Swift (100 Days of SwiftUI)
Read how to build a mobile app with AI to see how AI-assisted workflows compare to the manual Swift approach.
Step 7: Add Data Storage
Sooner or later, your app needs to store information. The right storage option depends on what you are storing and which iOS version you are targeting.
| Storage Option | Best For | iOS Version |
|---|---|---|
| UserDefaults | Small preferences, settings, flags | All versions |
| Core Data | Complex relational data, offline sync | iOS 3 and above |
| SwiftData | Modern Swift-native data persistence | iOS 17 and above |
| CloudKit | iCloud sync across user devices | iOS 8 and above |
You can enable Core Data when creating your project or add it later. Once set up, define entities and attributes, then write code to store and retrieve data. SwiftData is Apple's newer, Swift-native alternative worth considering for new projects targeting iOS 17 and above.
Step 8: Test in the iOS Simulator
Click the Run button in Xcode. The iOS Simulator opens automatically. Test across different iPhone models, iPad layouts, screen rotations, and various iOS versions.
Instead of quickly checking and moving on, take your time. Tap every button, try unusual inputs, and rotate the screen multiple times. Testing helps you catch layout issues and navigation problems before real users find them.
iOS App Development Workflow From Idea to App Store
What the simulator cannot replicate:
- Actual touch pressure and haptic feedback
- True CPU and GPU performance under battery constraints
- Camera, microphone, and hardware sensors
- In-app purchases (requires a real device with a sandbox account)
Always supplement simulator testing with real device testing before submission.
Step 9: Beta Test With TestFlight
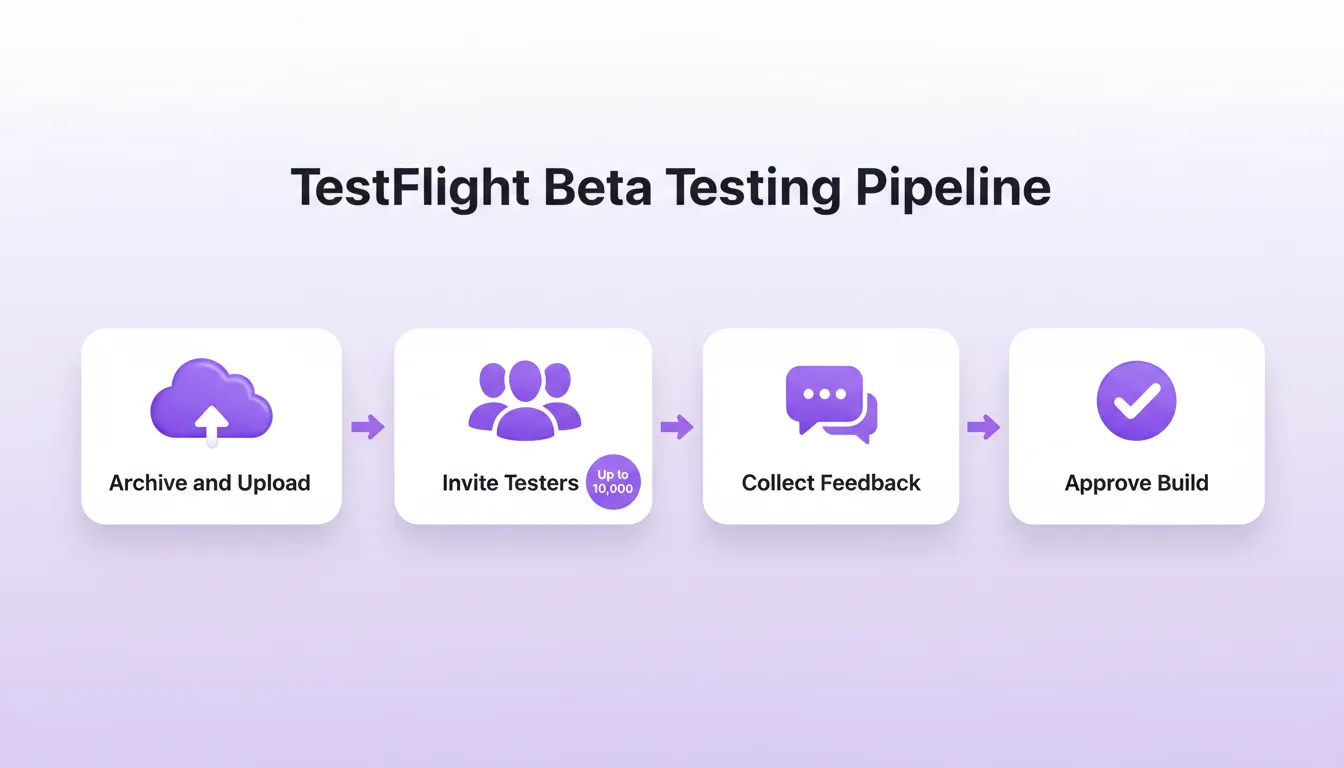
Before submitting to the App Store, distribute your app to real testers using TestFlight. TestFlight is Apple's official beta testing platform.
TestFlight lets you invite up to 10,000 external testers via email or a public link. You can collect structured feedback and crash reports, and test multiple builds side by side. This step sits between simulator testing and public submission. It is one of the most valuable quality gates in the iOS development process.
Internal vs. external testers:
- Internal testers (up to 100): Members of your Apple Developer team. Builds are available immediately with no Apple review required.
- External testers (up to 10,000): Anyone with an email invite or public link. A brief Beta App Review is required before the first build is distributed.
Skipping TestFlight is one of the most common reasons apps receive poor early reviews. To use it, upload your build through App Store Connect, then invite testers.
Read the full guide on how to deploy apps on iPhone for a step-by-step walkthrough of the submission process.
Step 10: Test on a Real Device
After TestFlight, connect your iPhone or iPad to your Mac. Select your real device in Xcode and click Run.
Testing on a real device reveals things the simulator cannot. You will notice actual performance, touch responsiveness, and how your app behaves in real-world conditions.
Open the app, close it, switch to another app, come back, rotate the device, and test again. The more you test on a real device, the more confident you will feel before submission.
Step 11: Handle Privacy and App Tracking Transparency
Since 2024, Apple requires a Privacy Manifest for all apps submitted to the App Store. This is one of the most common rejection reasons for new developers who skip it.
- Add a PrivacyInfo.xcprivacy file to your project. It must declare which APIs your app uses and why.
- If your app tracks users across apps or websites, implement the App Tracking Transparency (ATT) framework.
- You must request permission before collecting any tracking data.
- Review Apple's App Review Guidelines for the full list of privacy requirements.
Failing to include the privacy manifest or requesting tracking data without the ATT prompt will result in App Store rejection. Address this before archiving your build.
The five most common App Store rejection reasons:
- Missing or incomplete Privacy Manifest (PrivacyInfo.xcprivacy)
- Crashes or bugs discovered during Apple's review
- Broken or placeholder content in the app
- Misleading metadata such as description, screenshots, or keywords
- Missing ATT permission prompt when tracking is used
Step 12: Create an Apple Developer Account
Now that your app works properly, prepare for publishing. Enroll in the Apple Developer Program.
| Program Type | Annual Cost | Distribution |
|---|---|---|
| Individual or Organization | $99/year | App Store and TestFlight |
| Enterprise Program | $299/year | In-house only, not App Store |
The Apple Developer Program gives you access to certificates, provisioning profiles, App Store Connect, and developer services. App Store Connect is where you manage your iOS app listings. It replaced iTunes Connect, though many developers still mention the older name.
Step 13: Prepare for the App Store
Inside Xcode, select a generic iOS device, archive your project, validate, and upload. Then open App Store Connect to add screenshots, write your description, add keywords, set pricing, and provide privacy details. Think of this as presenting your app to the world.
App Store listing checklist:
- App icon: 1024x1024 PNG, no transparency, no rounded corners
- Screenshots for every supported device size (iPhone 6.9", 6.5", 5.5" at minimum)
- App name: 30 characters maximum
- Subtitle: 30 characters maximum
- Description: 4,000 characters maximum
- Keywords: 100 characters total, comma-separated
- Privacy policy URL: required for all apps
The best way to learn iOS development is to build small projects and ship them. Do not wait for the perfect idea. With every app you create, your confidence grows, your skills sharpen, and your ideas become easier to turn into real, working iOS apps.
Native vs. No-Code vs. Cross-Platform
Not everyone needs to go through the full Xcode path. Here is how the three main approaches compare:
| Approach | Tools | Language | iOS App Output | Best For |
|---|---|---|---|---|
| Native Swift | Xcode, SwiftUI, UIKit | Swift | Native .ipa | Maximum performance, full Apple API access |
| No-Code AI Builder | Rocket, FlutterFlow | Natural language prompt | Flutter (cross-platform) | Fast prototyping, non-developers, MVPs |
| Cross-Platform (manual) | Flutter, React Native | Dart or JavaScript | Flutter or RN bundle | Teams targeting iOS and Android simultaneously |
When to choose native Swift: You need deep hardware integration with ARKit, HealthKit, or CarPlay, or you need platform-exclusive features.
When to choose a no-code AI builder: You want to validate an idea quickly, you do not have a development team, or you need to ship an MVP in days rather than months.
When to choose cross-platform manually: You have a development team and need to ship on both iOS and Android with shared code.
How Rocket Helps You Build iOS Apps
According to Apple, developers have earned over $320 billion through the App Store since 2008. That figure highlights the massive opportunity in the mobile app ecosystem. It shows how powerful the iOS platform is for creators.
Rocket is the world's first Vibe Solutioning platform. You research what to build, build it, and monitor what matters, all in one place. Three pillars work together: Solve for research and PRDs, Build for AI-generated apps, and Intelligence for continuous competitor monitoring.
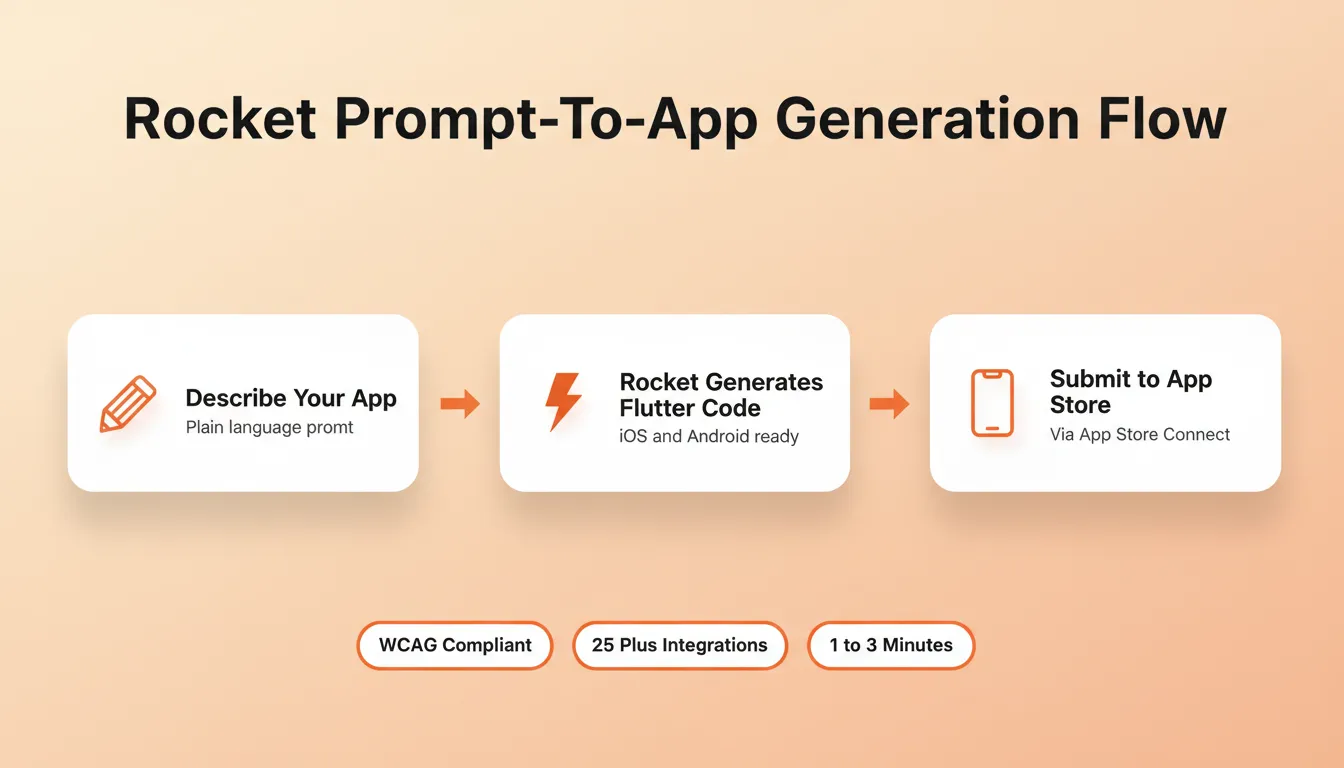
With Rocket's Build feature, you describe what you want in plain language and Rocket generates a production-ready Flutter mobile app. You do not need to write code, use a terminal, or install Xcode. Most apps generate in 1 to 3 minutes. The generated app runs on both iOS and Android from a single codebase.
Every Flutter app Rocket builds ships with real design systems, dark and light theming, fluid navigation, staggered animations, WCAG accessibility compliance, and GDPR coverage by default. The output does not look AI-made.
Three ways to get your Rocket-built Flutter app onto iOS:
| Distribution Method | Speed | Audience |
|---|---|---|
| Web preview link | Instant | Anyone with the link |
| Download and install APK | Minutes | Testers with devices |
| Apple App Store | Days to weeks | Public |
Full Rocket Build capability for mobile:
- Prompt-to-app generation: describe your app in plain language and get production-ready Flutter code
- Start from Figma: import a completed Figma design and Rocket converts it to working Flutter code
- Start from a template: browse pre-built templates at zero credit cost and customize from there
- Visual edit: click any element in the live preview to change text, style, spacing, or layout
- Code access: view and edit the full generated Flutter source code directly
- Connectors: integrate Supabase, Stripe, OpenAI, Anthropic, Gemini, and 25+ other services from chat
- Version history: every generation creates a new version, and you can browse and restore any previous state
Rocket generates Next.js for web apps and Flutter for mobile apps, both production-ready from the first generation.
Read the full guide on how to ship a production Flutter app without a dev team to see the complete Rocket Build workflow in action.
The Future of iOS App Development
The process of how to build apps for iOS is no longer a single path. Native Swift development remains the right choice for apps that need deep hardware integration, maximum performance, or platform-exclusive APIs. For founders, product teams, and builders who need to validate ideas and ship quickly, AI-generated Flutter apps have become a production-grade option, not a prototype shortcut.
As AI development tools continue to mature, the gap between a validated idea and a live iOS app will keep shrinking. The builders who ship the right thing will always outperform the builders who just ship fast.
You have the idea. You have the path. Start building on Rocket and turn your iOS app from a concept into a live product.
Table of contents
- -The Key Steps to Building an iOS App
- -Step 1: Start With a Clear App Idea
- -Step 2: Set Up Your Mac and Download Xcode
- -Step 3: Create a New Xcode Project
- -Step 4: Get Comfortable Inside Xcode
- -Step 5: Design a Clean and Intuitive User Interface
- -Step 6: Write the Code That Brings It to Life
- -Step 7: Add Data Storage
- -Step 8: Test in the iOS Simulator
- -Step 9: Beta Test With TestFlight
- -Step 10: Test on a Real Device
- -Step 11: Handle Privacy and App Tracking Transparency
- -Step 12: Create an Apple Developer Account
- -Step 13: Prepare for the App Store
- -Native vs. No-Code vs. Cross-Platform
- -How Rocket Helps You Build iOS Apps
- -The Future of iOS App Development